Sky
About
In most games, the sky is rendered using specialized techniques to create the illusion of a distant environment.
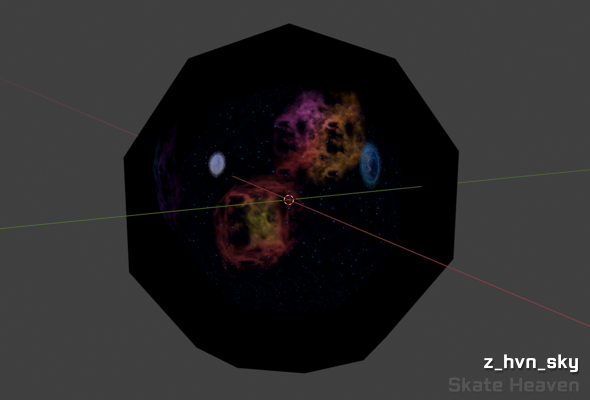
Sky geometry is drawn behind the main scene and follows the camera in a way that makes it appear infinitely far away. In the Neversoft engine, "sky" is a broad term that refers to anything placed within the level's sky scene.
Most canonical sky meshes tend to be dome or half-dome shaped in appearance.
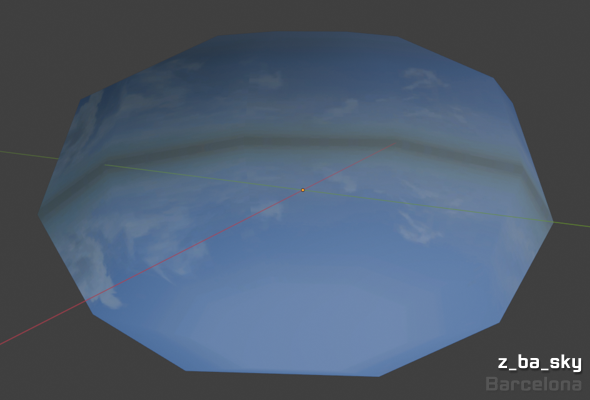
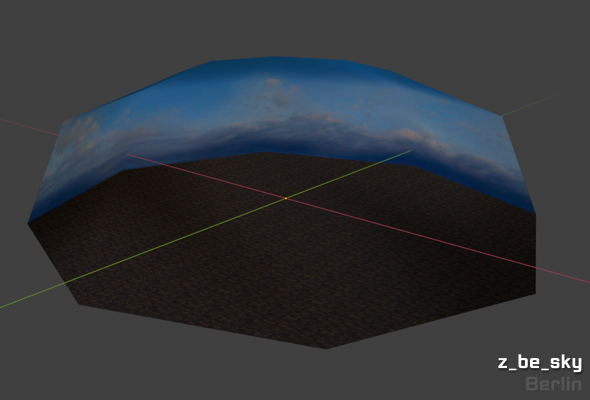
But a sky can have any shape. Cube, prism, or even something else!


Note that a sky does not have to be a singular object. A sky scene can contain multiple objects.
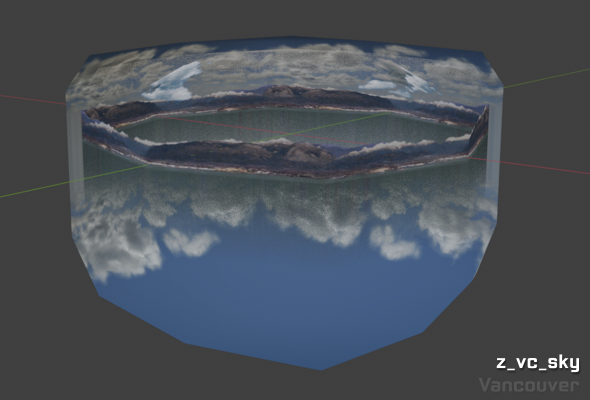
An important detail about skies is that they are viewed from the inside of their geometry. For the best appearance, polygons and meshes in a skybox should face inwards toward the viewer.
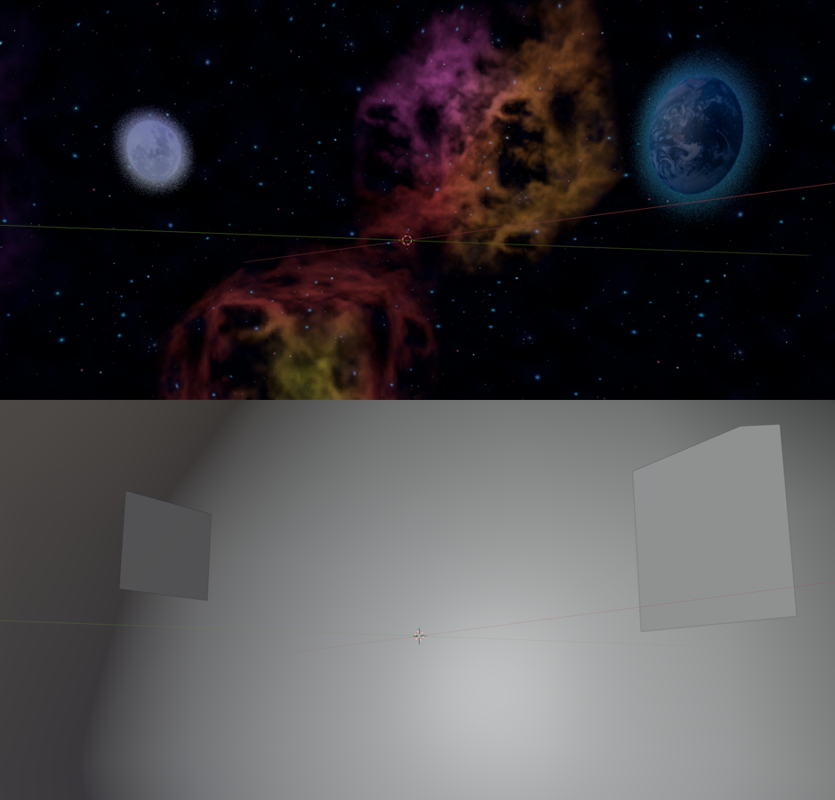
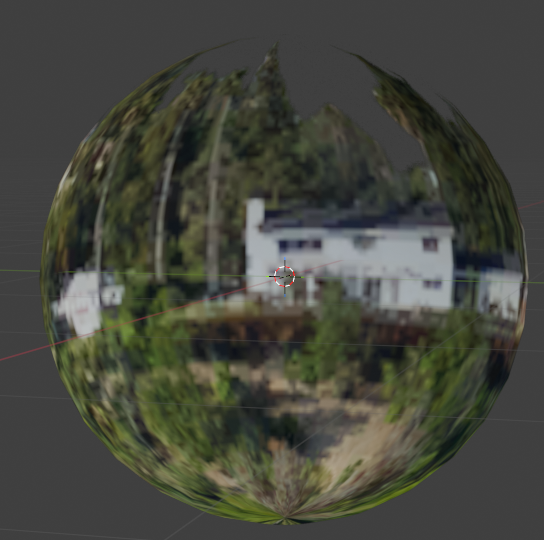
From a distance, we can see that the polygons of the sky are facing in toward the origin.
Sky geometry is drawn behind the main scene and follows the camera in a way that makes it appear infinitely far away. In the Neversoft engine, "sky" is a broad term that refers to anything placed within the level's sky scene.
Shapes
Most canonical sky meshes tend to be dome or half-dome shaped in appearance.
But a sky can have any shape. Cube, prism, or even something else!
Note that a sky does not have to be a singular object. A sky scene can contain multiple objects.
Orientation
An important detail about skies is that they are viewed from the inside of their geometry. For the best appearance, polygons and meshes in a skybox should face inwards toward the viewer.
From a distance, we can see that the polygons of the sky are facing in toward the origin.
Creating a Sky Mesh
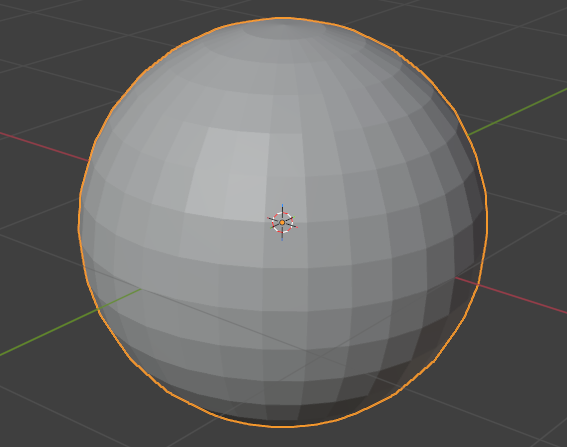
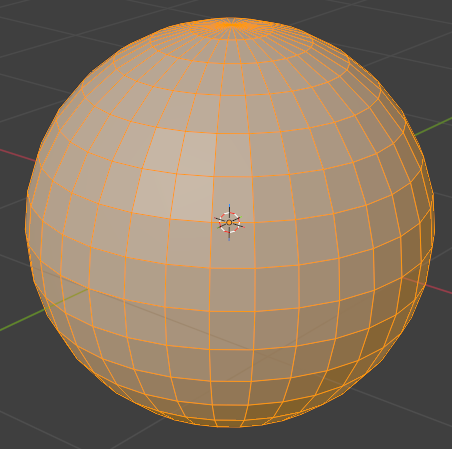
Rounded shapes are recommended for sky scenes, as opposed to cubes or prisms. In Blender, we can quickly create a basic, rounded sky mesh using a sphere:

Faces on our fresh UV Sphere will be flat-shaded upon creation.
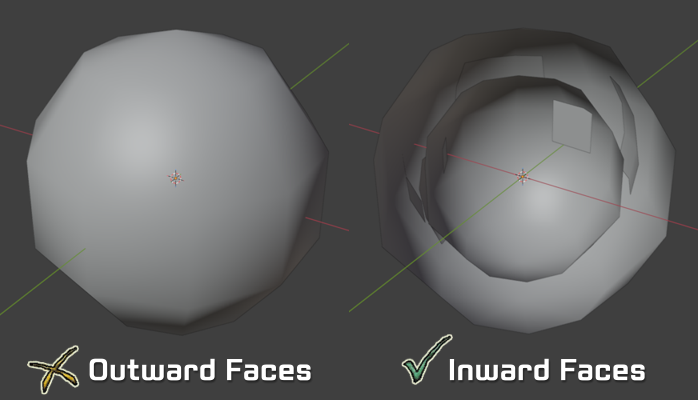
At the moment, the polygons on our mesh are still facing outwards. By default, Blender has the Backface Culling option disabled, meaning that we can see both the inside and outside of each face. We're interested in better seeing which direction each face is pointing.
Nothing has changed. This is because our polygons are still facing outwards!
The faces of our mesh are now facing inwards toward its origin.
We can apply a material to the mesh to visualize this more clearly.
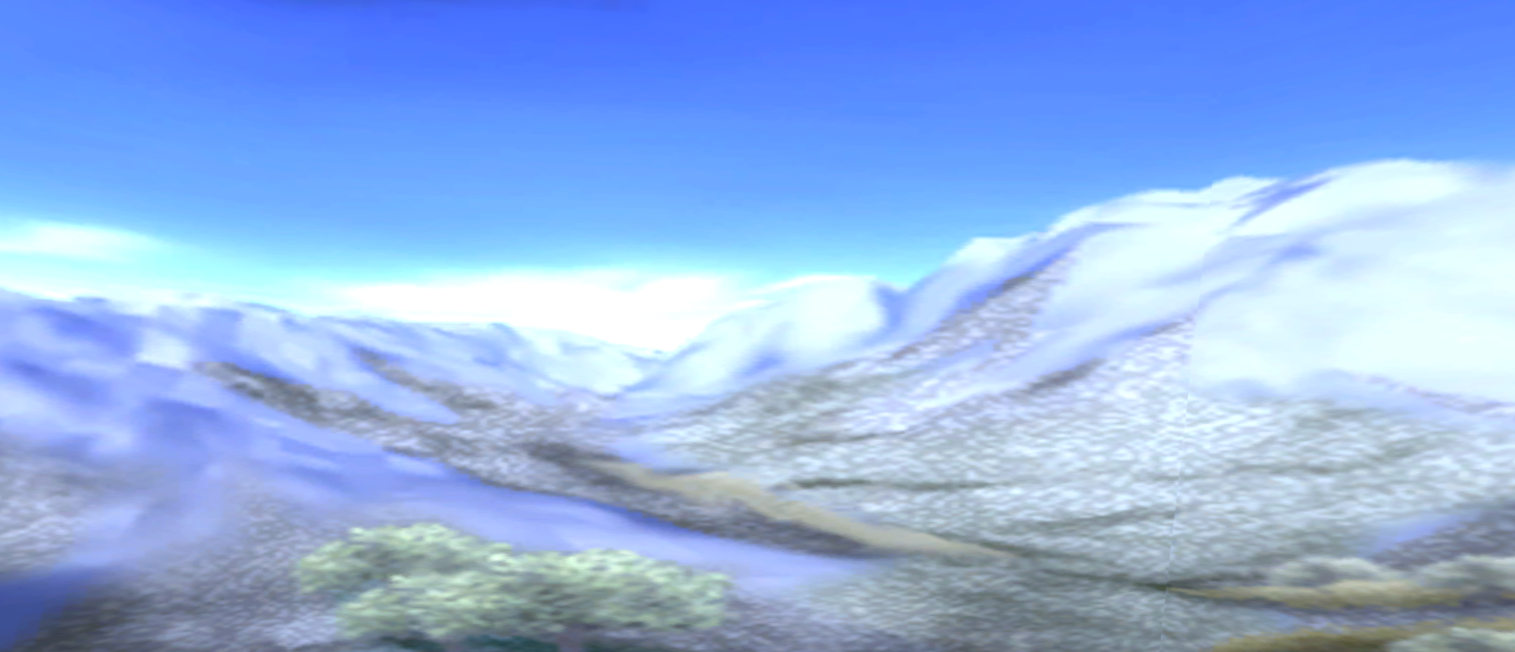
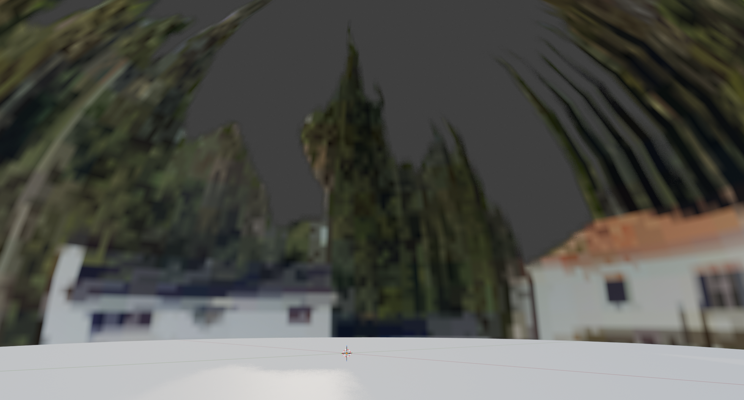
If we were looking at the sky from the inside, this is what we would see:
Add a UV Sphere with Add > Mesh > UV Sphere
Faces on our fresh UV Sphere will be flat-shaded upon creation.
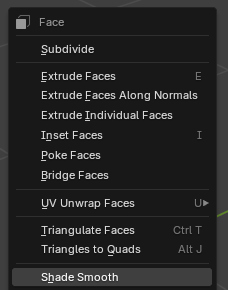
Press the
Tab key to enter Edit Mode.Press the
3 key to enter Face mode.Press the
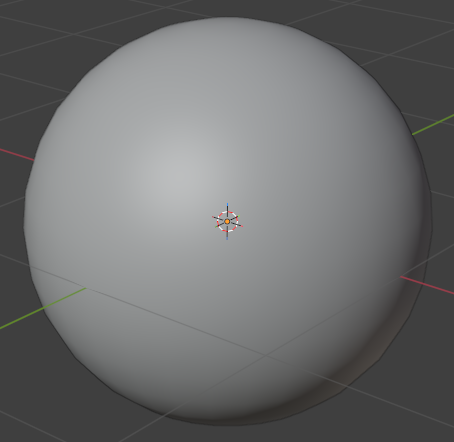
A key to select all faces.Right-click and select
Shade Smooth to smooth the selected faces.At the moment, the polygons on our mesh are still facing outwards. By default, Blender has the Backface Culling option disabled, meaning that we can see both the inside and outside of each face. We're interested in better seeing which direction each face is pointing.
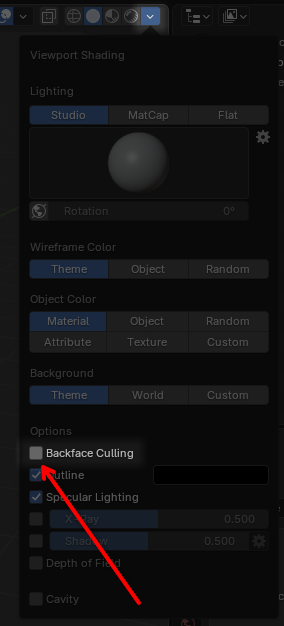
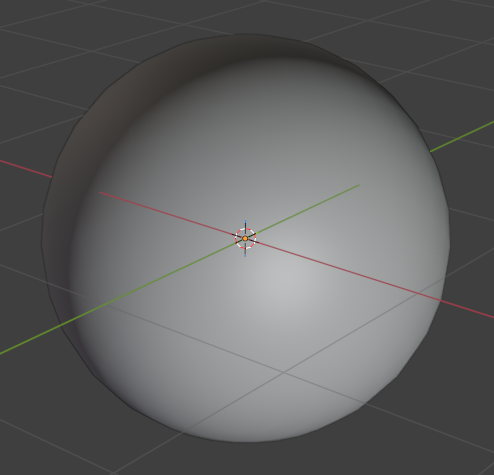
Enable the
Backface Culling option in the Shading dropdown.Nothing has changed. This is because our polygons are still facing outwards!
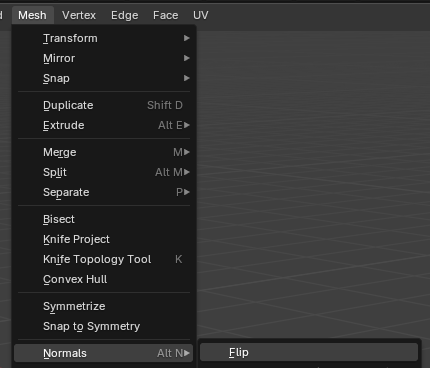
In Edit Mode, select all faces and click Mesh > Normals > Flip
The faces of our mesh are now facing inwards toward its origin.
We can apply a material to the mesh to visualize this more clearly.
If we were looking at the sky from the inside, this is what we would see:
Sky Exporting
Exporting a sky as part of the level is simple. Its only requirement is to be marked as
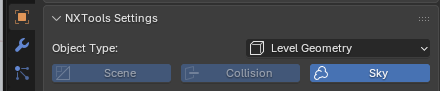
Any object marked as
Sky in the "NXTools - Settings" panel of the object's Object Properties sidebar.Any object marked as
Sky will naturally be exported into the sky scene's .pak file when exporting the level from NXTools. No further setup is required.