Vertex Colors
About
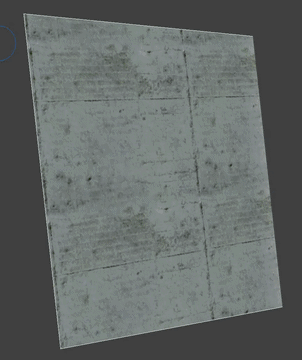
Level geometry has historically relied on vertex color as a technique to simulate lighting and add detail.
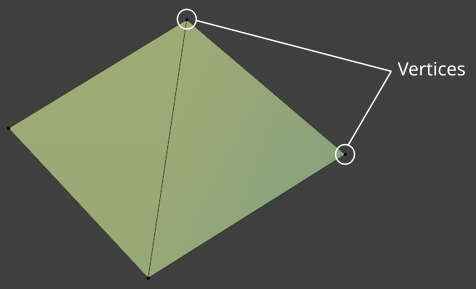
In 3D graphics, a mesh is typically made of many connected triangles or polygons. Each polygon is composed of multiple vertices that make up the final shape. A multitude of polygons can be used to create a final model.
A single vertex can store a variety of information, such as:
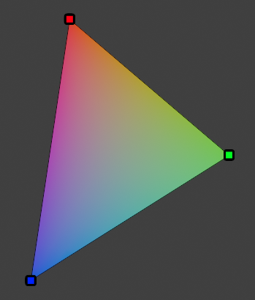
Vertex coloring means that each vertex has its own RGB color value. The game's renderer then smoothly interpolates those colors across the polygon.
Imagine a triangle with one red corner, one blue corner, and one green corner.
The inside of the triangle becomes a smooth gradient blending those colors.
We can use vertex coloring for many things, including:
In a typical mesh, vertices are shared between faces.
If color is stored per vertex, that color is reused by every face touching it. This means that one vertex has one color, and that all connected faces must blend smoothly through that color.

As a result, sharp color changes become impossible without changing the geometry! Thankfully, Color Attributes in Blender can be applied per vertex or in Face Corner mode.
In Face Corner mode, the color is not stored on the vertex itself, but on the corner of the face. This allows for cases where the corner of an object, despite sharing a vertex between faces, can have a hard transition between colors.
Most, if not all, Blender exports tend to use Face Corner mode for vertex coloring.
Vertices have an alpha component stored alongside their color value.
Aside from its color, a vertex's alpha can control its visibility. Lower alpha values mark a vertex as less visible, whereas higher values mark it as more visible.
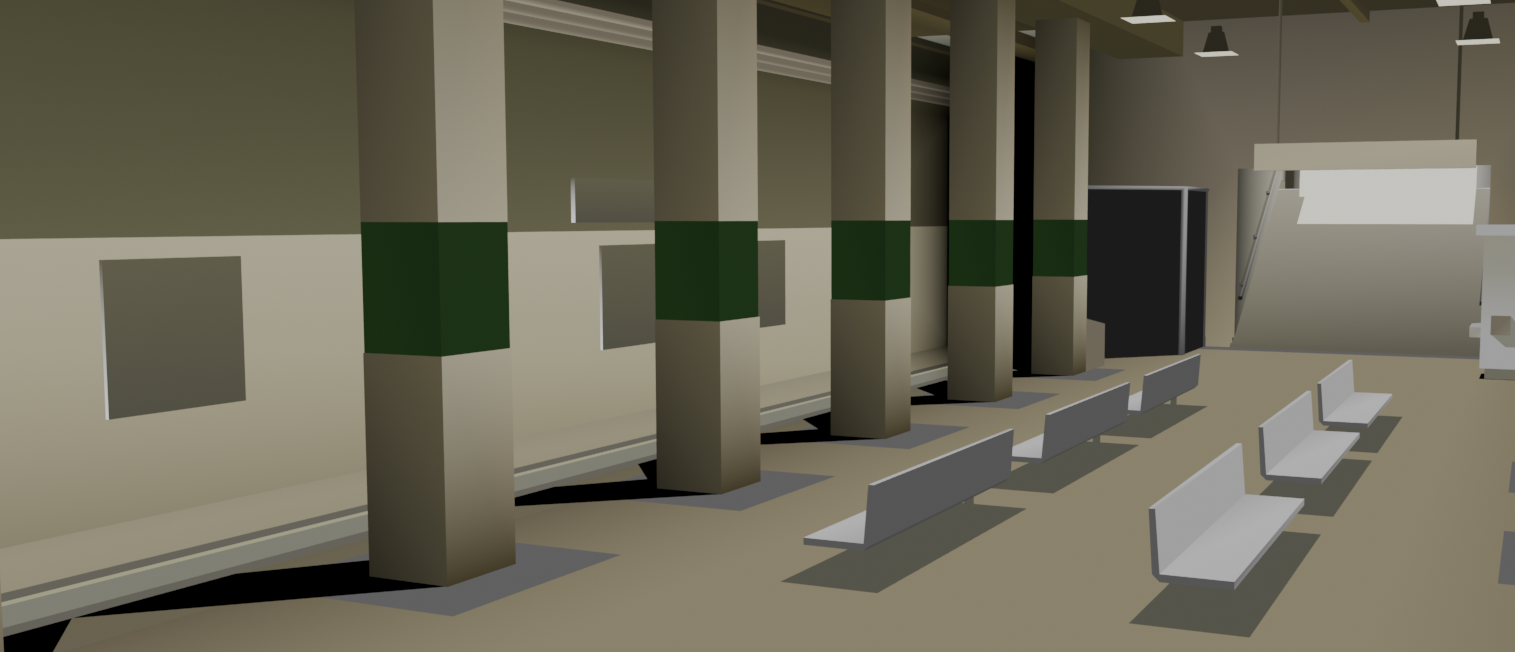
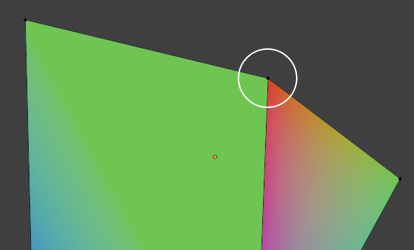
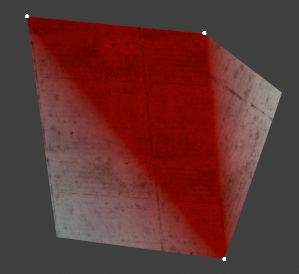
For example, in the case of terrain blending, notice how a vertex's alpha affects visibility of the pass:
In the example above, the alpha of the grass is controlled by the vertex's alpha value. The dark vertices on the left have a low alpha while the light vertices on the right have a high alpha.
See the Materials page for details on how a material's passes are layered.
In 3D graphics, a mesh is typically made of many connected triangles or polygons. Each polygon is composed of multiple vertices that make up the final shape. A multitude of polygons can be used to create a final model.
A single vertex can store a variety of information, such as:
Position
Normal
UV Data
Tangent / Bitangent
Weights
Vertex Color
Color Interpolation
Vertex coloring means that each vertex has its own RGB color value. The game's renderer then smoothly interpolates those colors across the polygon.
Imagine a triangle with one red corner, one blue corner, and one green corner.
The inside of the triangle becomes a smooth gradient blending those colors.
We can use vertex coloring for many things, including:
Lightweight coloring without the use of textures
Gradients, light tricks, or stylized visuals
Terrain blending
Face Corners
In a typical mesh, vertices are shared between faces.
If color is stored per vertex, that color is reused by every face touching it. This means that one vertex has one color, and that all connected faces must blend smoothly through that color.
As a result, sharp color changes become impossible without changing the geometry! Thankfully, Color Attributes in Blender can be applied per vertex or in Face Corner mode.
In Face Corner mode, the color is not stored on the vertex itself, but on the corner of the face. This allows for cases where the corner of an object, despite sharing a vertex between faces, can have a hard transition between colors.
Most, if not all, Blender exports tend to use Face Corner mode for vertex coloring.
Vertex Alpha
Vertices have an alpha component stored alongside their color value.
Aside from its color, a vertex's alpha can control its visibility. Lower alpha values mark a vertex as less visible, whereas higher values mark it as more visible.
For example, in the case of terrain blending, notice how a vertex's alpha affects visibility of the pass:
In the example above, the alpha of the grass is controlled by the vertex's alpha value. The dark vertices on the left have a low alpha while the light vertices on the right have a high alpha.
See the Materials page for details on how a material's passes are layered.
Adding Vertex Color
For an object to support vertex color, it must first have a
The object now supports vertex coloring.
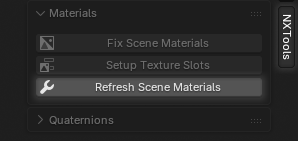
Although the object now has vertex color support, we need to ensure that our material is detecting it properly. NXTools sometimes requires materials to be refreshed after making drastic changes.
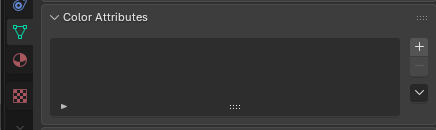
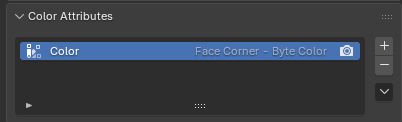
Color attribute.Locate the Color Attributes panel in the Data sidebar:
Click the + button to add a new attribute.
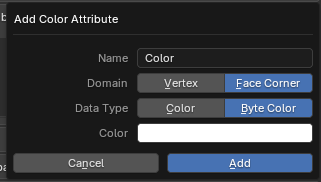
Ensure that the Name field is set to
ColorEnsure that the Domain property is set to
Face CornerEnsure that the Data Type property is set to
Byte ColorFor best results, set the default color to a solid white color.
The object now supports vertex coloring.
Although the object now has vertex color support, we need to ensure that our material is detecting it properly. NXTools sometimes requires materials to be refreshed after making drastic changes.
Press the
N key to open the NXTools sidebar.Click the Refresh Scene Materials button.
Adding Vertex Alpha
For an object to support vertex alpha, it must have an

The object now supports vertex alpha.

Remember to refresh the material(s) using the method shown above.
Alpha attribute.Locate the Color Attributes panel in the Data sidebar:
Click the + button to add a new attribute.
Ensure that the Name field is set to
AlphaEnsure that the Domain property is set to
Face CornerEnsure that the Data Type property is set to
Byte ColorFor best results, set the default color to a solid white color.
The object now supports vertex alpha.
Remember to refresh the material(s) using the method shown above.
Painting Vertex Colors
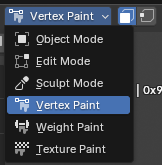
We can easily paint vertex colors by using the Vertex Paint mode.
For hard color transitions, or to paint on a singular face, we can enable the Paint Mask option.

By clicking the Select Box option, we can use our mouse to isolate one or more faces for painting.

With the Brush tool selected, we can now use the selected color to paint onto the model as desired.

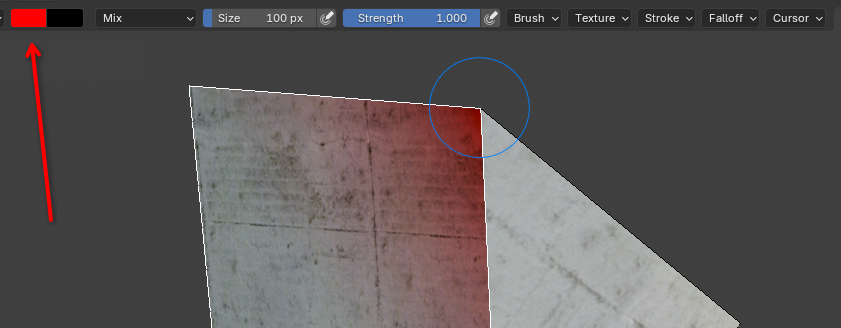
Notice that our colors are only applying to the corner of our selected face(s). This is because of our attribute using the Face Corner mode mentioned above in the About section.
For hard color transitions, or to paint on a singular face, we can enable the Paint Mask option.
By clicking the Select Box option, we can use our mouse to isolate one or more faces for painting.
With the Brush tool selected, we can now use the selected color to paint onto the model as desired.
Notice that our colors are only applying to the corner of our selected face(s). This is because of our attribute using the Face Corner mode mentioned above in the About section.
Setting Vertex Colors
Sometimes we may want to explicitly set vertex colors instead of painting them.

The Select Box tool can be used to select individual vertices.
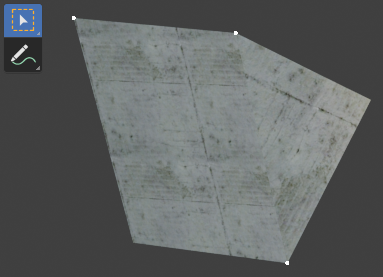
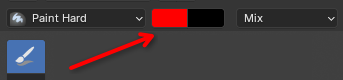
By selecting the Brush tool, we can change our current color.
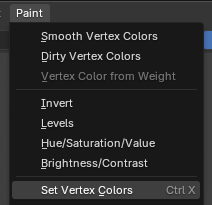
Color can be assigned to the selected vertices by selecting Paint > Set Vertex Colors
In Vertex Paint mode, ensure that the Vertex Selection option is enabled.
The Select Box tool can be used to select individual vertices.
By selecting the Brush tool, we can change our current color.
Color can be assigned to the selected vertices by selecting Paint > Set Vertex Colors
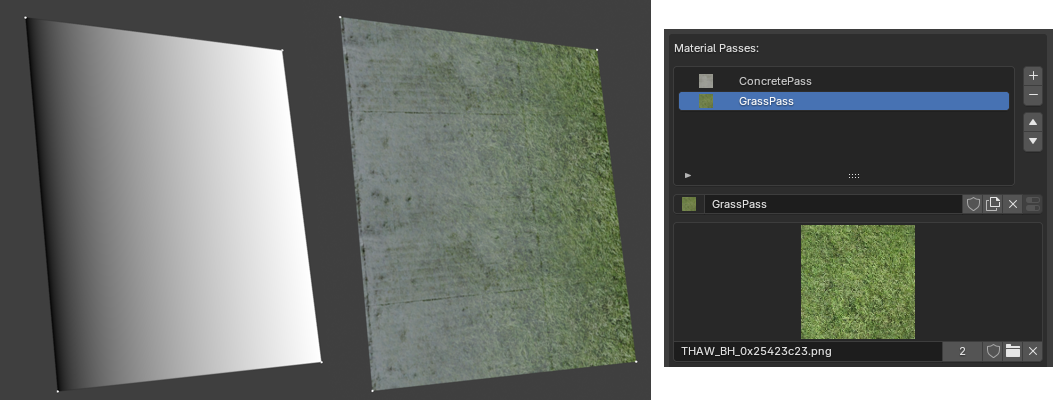
Pass Blending
As mentioned above, vertex alpha can be used to blend multiple passes together.
This is especially useful for terrain blending where the second pass of a material should be "painted" onto the first. We may have cases where a dirt texture needs a variable-opacity grass texture on top.
Each pass of a material can selectively ignore vertex alpha. See the Materials page for more information.
Creating such a material requires multiple passes:
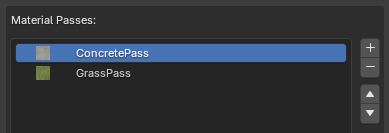
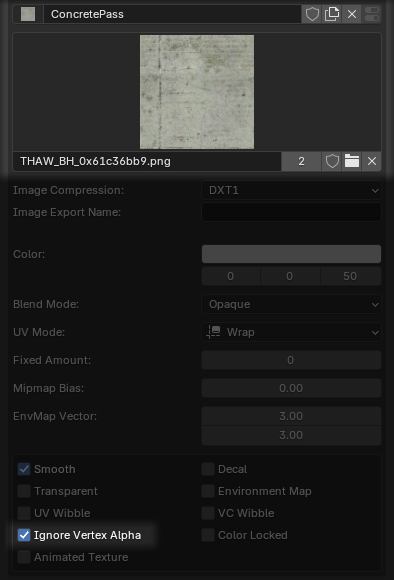
We do not want the concrete layer to be affected by vertex alpha. This is our base texture.
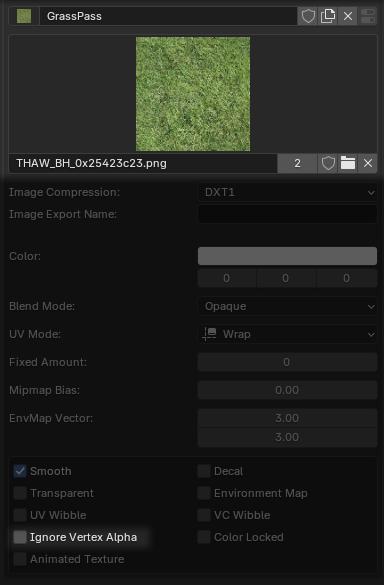
We do want the grass layer to be affected by vertex alpha. We want to paint its opacity.
Remember to refresh the material. Adding / removing passes or tweaking attributes requires a refresh.
When painting, ensure that the
Any changes that we make to the
This is especially useful for terrain blending where the second pass of a material should be "painted" onto the first. We may have cases where a dirt texture needs a variable-opacity grass texture on top.
Each pass of a material can selectively ignore vertex alpha. See the Materials page for more information.
Creating such a material requires multiple passes:
We do not want the concrete layer to be affected by vertex alpha. This is our base texture.
Ensure that Ignore Vertex Alpha is enabled for the concrete pass.
We do want the grass layer to be affected by vertex alpha. We want to paint its opacity.
Ensure that Ignore Vertex Alpha is disabled for the grass pass.
Remember to refresh the material. Adding / removing passes or tweaking attributes requires a refresh.
When painting, ensure that the
Alpha layer is highlighted in the Color Attributes panel.Any changes that we make to the
Alpha layer will now properly affect the grass pass.